|4.525Mins Read
From Pixel Perfect to Perfectly Sized: A Guide to PNG Resizing
- Authors

- Name
- Geeks Kai
- @KaiGeeks
Resizing PNG images might sound like a small task, but for anyone dealing with visuals, it’s a big deal! PNGs are prized for their lossless compression and transparency support, making them a favorite for high-quality designs and web use. But resizing them without sacrificing quality? That’s the real challenge. This guide will walk you through how to resize PNG images like a pro—no pixel left behind!
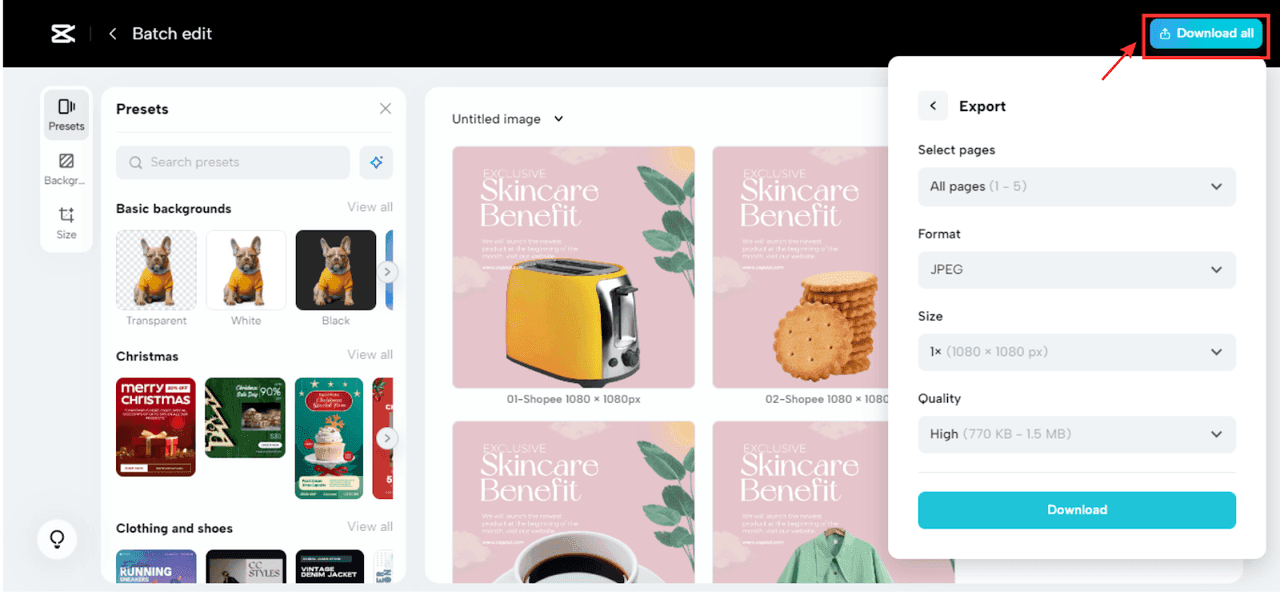
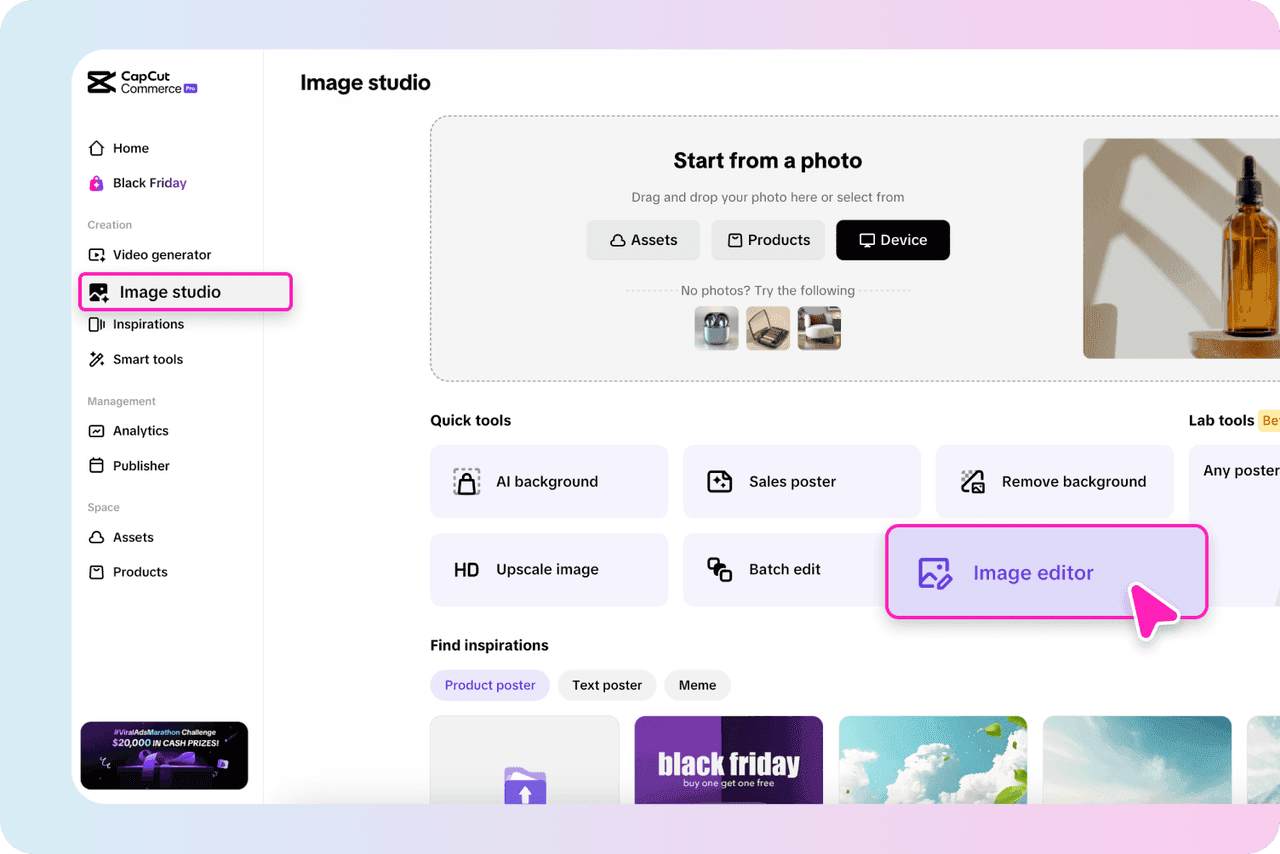
If you’re looking for a reliable tool to simplify resizing tasks, CapCut Commerce Pro is a fantastic option. It’s intuitive, and effective, and helps you achieve professional results without fuss.

Before diving into resizing, let’s get a grasp on what makes PNG images so special.
With the right tools and techniques, though, you can resize PNG images without compromising their stunning quality.
Professional tools like Photoshop and GIMP offer powerful features to resize images precisely.
If you’re not into downloading software, online tools can save the day.
For a specific task like resizing PNG images, check out the PNG resizer. It’s quick, efficient, and perfect for optimizing PNGs without losing their visual appeal.
Need to resize multiple images? Batch resizing tools like Adobe Bridge and XnViewMP are lifesavers. They allow you to process a whole folder of images in one go, saving time and ensuring consistency.
Resizing PNG images requires a delicate balance to ensure the final output remains sharp and visually appealing. By following these best practices, you can maintain image quality while achieving the desired dimensions or file size:
Always use the best-quality image you have as your starting point. High-resolution originals retain more detail during resizing, ensuring the final image looks professional and polished. Resizing a low-quality image will only amplify flaws, making it appear blurry or pixelated.
Upscaling images (increasing their dimensions) can quickly degrade quality, leading to visible pixelation and loss of detail. If enlargement is unavoidable, limit the scaling to small increments and consider using specialized software or AI tools like Adobe Photoshop or Topaz Gigapixel AI to preserve as much detail as possible.
Instead of resizing an image all at once, do it in smaller, gradual steps. This method allows you to monitor the image at each stage, making it easier to spot and address potential quality issues before they become noticeable. Progressive resizing is especially effective for significant size reductions or when working with complex visuals.
Once resized, take the time to zoom in and inspect your image closely. Look for signs of blurriness, pixelation, or unwanted artifacts that may have occurred during the process. If necessary, apply minor sharpening, contrast adjustments, or other corrections to enhance clarity and maintain the image’s integrity. By implementing these best practices, you can ensure your resized PNGs look sharp, professional, and ready for any platform or purpose.
For web use, keep file sizes small without sacrificing quality. Tools like PNG resizers ensure fast loading times while keeping images sharp. Aim for 72 DPI and optimized resolutions for a balance between performance and clarity. Smaller image sizes also help improve SEO, as faster load times are favored by search engines.
For print, maintain at least 300 DPI for crisp, clear images. Always check the resolution and dimensions needed for your project to avoid pixelation in printed materials. High-quality images are crucial for professional print products like brochures, posters, or flyers, as they reflect your brand’s professionalism.
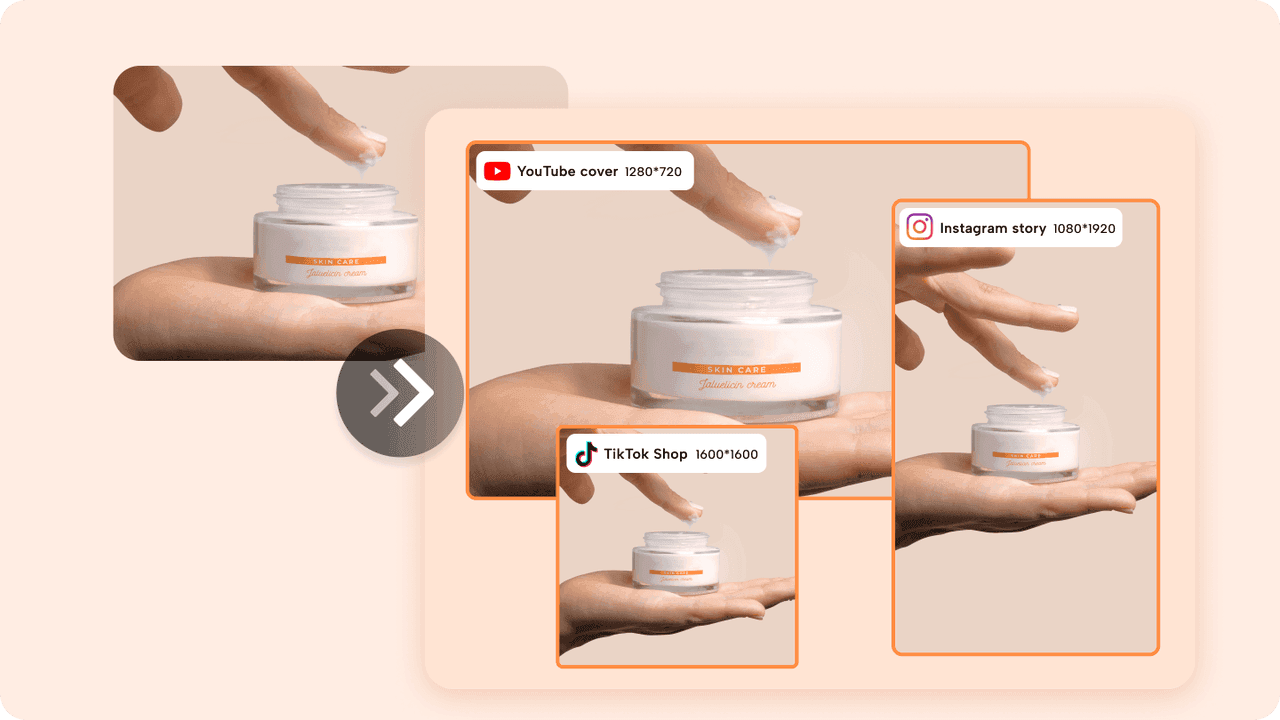
Each platform has unique size requirements. Stay updated with current dimensions to ensure your images are properly formatted and appear sharp across all social channels. Use tools like Canva or CapCut Commerce Pro to resize easily. Consistently using the right sizes helps your content stand out, engaging your audience better.
Resizing PNG images doesn’t have to be a headache. With the right tools, techniques, and a little patience, you can maintain the pristine quality PNGs are known for while achieving the perfect size for your needs. Whether you’re optimizing for web performance, preparing for print, or curating social media visuals, these strategies will ensure your images always look their best. Ready to resize like a pro? Dive into the process and see the difference it makes!